Stop the Buzz: How Cable Placement Could Be Causing Your Noise Issues

By Frank Verderosa, 9/21/2025
A Must-Read for Voice Actors Dealing With Mystery Hums and Buzzes
As someone who regularly consults with voice actors and helps troubleshoot home studio setups, I’ve seen a pattern: many persistent noise issues aren’t due to a faulty mic or interface—they’re electrical.
That subtle hum, buzz, or faint digital noise in your signal? It might not be your gear—it might be your cable placement.
Let’s break it down in plain terms and give you a few quick fixes that could save your session (and your sanity).
Power Cables vs. Audio Cables: Why They Shouldn’t Be Roommates
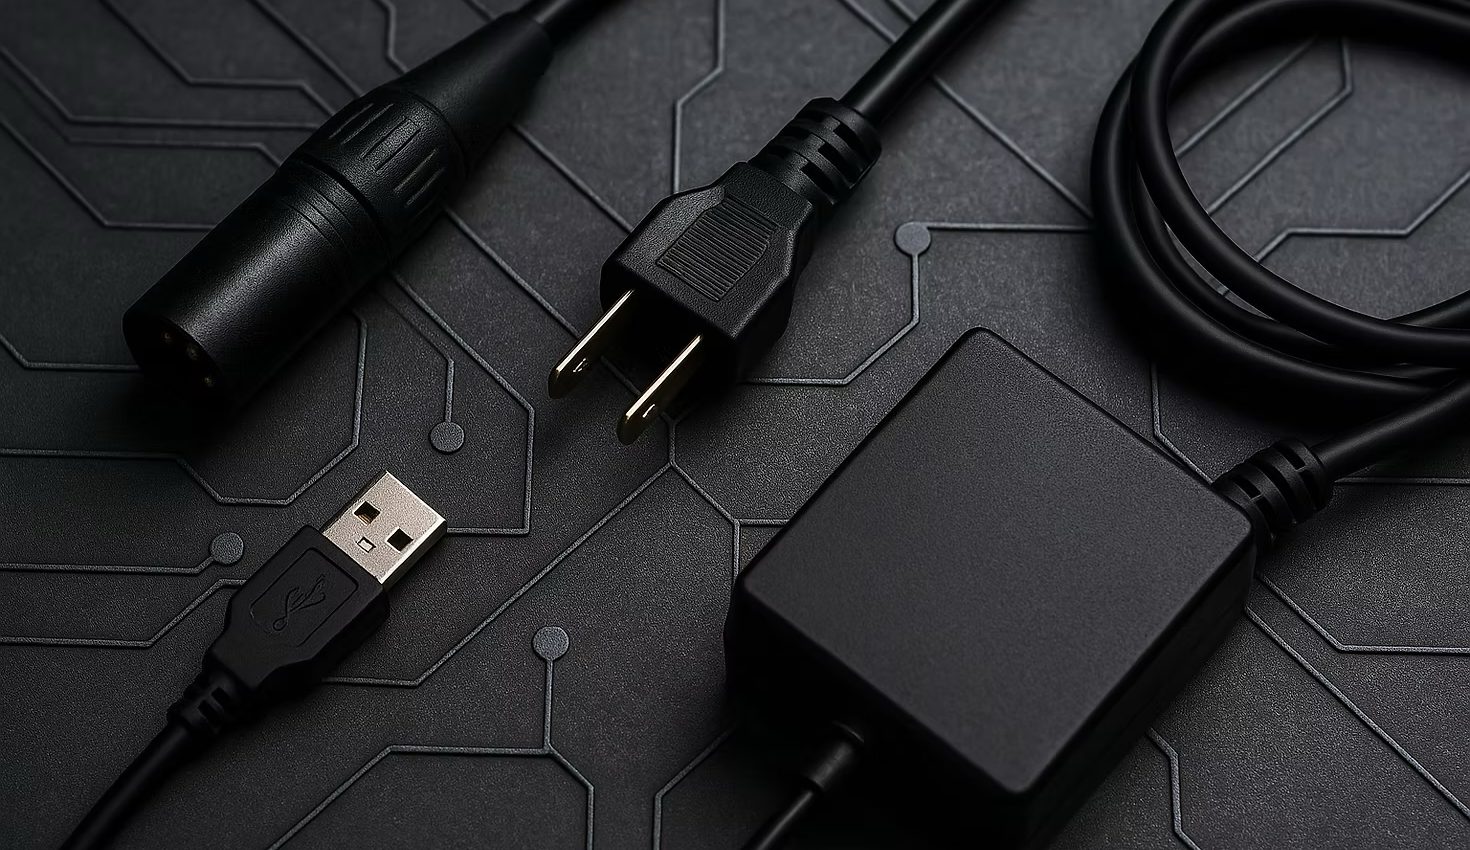
Audio cables—like your trusty XLR mic cable or even the USB cable to your interface—carry low-voltage signals. Power cables, on the other hand, carry high-voltage current. When these two types of cables are run next to each other, especially for long stretches or when coiled together, interference can leak from the power into the audio line.
The result? That low-level hum or buzz you can’t EQ out.
Why It Happens:
It’s called electromagnetic interference (EMI), and it’s just physics: electricity creates a magnetic field, and audio cables are vulnerable to picking up that energy—especially if shielding is poor or the cables are cheap.
Studio Standard: Power and Audio Should Stay in Their Own Lanes
In pro studios, engineers go out of their way to separate audio and power paths. Cables are routed in separate trays, walls, or even conduit systems. And when they have to cross? They do it perpendicularly.
Why? A 90-degree crossing minimizes the length of exposure and drastically reduces the chance of interference being induced into your audio signal.
Simple Fix at Home:
-
– Don’t bundle your audio and power cables together.
-
– Cross them at a 90-degree angle if they must meet.
-
– Use velcro ties or routing clips to keep things tidy and separate.
-
– Check behind your desk! Many issues hide behind furniture or under your desk where cables tangle without supervision.
Shielding Matters: Not All XLRs Are Created Equal
Even balanced cables like XLRs are susceptible to interference—especially if they’re poorly shielded or cheaply made.
A good XLR cable should have:
-
– Braided or foil shielding
-
– Quality connectors
-
– Tight fit with your gear (no wiggling)
Cheap cables might “work,” but over time they’re more likely to introduce noise—especially in environments with a lot of other electronics.
Pro Tip:
If you’ve done everything right and still hear a hum, try swapping out your mic cable with a known high-quality, well-shielded one. It’s often an eye-opener.
A Real-World Example: One Actor’s Buzz Was Just a USB Cable Too Close to the Power Brick
In one session I helped troubleshoot, a persistent noise issue ended up being caused by something as simple as this:
The actor’s USB cable from the interface was running right alongside the laptop’s power brick and AC adapter cable. The noise disappeared entirely once we rerouted the USB away from the power line.
Final Thought: Check Before You Panic
Before you blame your expensive mic or interface, take a step back and review your cable layout.
Sometimes, the fix is as easy as untangling your cords, moving a cable a few inches, or swapping in a better-shielded XLR.
Here’s a summary for the Busy VO Pro:
-
– Don’t run audio and power cables together.
-
– If they must cross, do it at 90 degrees.
-
– Use well-shielded cables, especially for your mic.
-
– Keep USB and power cables apart.
-
– Check behind your desk—out of sight doesn’t mean out of hum.
Have questions or want help troubleshooting your setup? Drop me a message or book a tech consult. Let’s make your space sound as good as your reads. ♦♦♦


Add Comment